As a proud studio apartment dweller, I’ve always found joy in curating the perfect blend of style and function within my cozy abode. Wall art, in particular, has become a captivating canvas for self-expression, transforming the very essence of my living space. In this comprehensive guide, I’m thrilled to share my top tips for displaying wall art in a studio apartment, empowering you to create a visually stunning and personalized haven that reflects your unique style.
Whether you’re a seasoned interior design enthusiast or a novice seeking to breathe new life into your compact quarters, this article will be your go-to resource. From understanding your studio’s spatial dynamics to selecting the perfect wall art pieces, we’ll explore a wealth of practical strategies to elevate the aesthetic appeal of your living environment. Prepare to be inspired and unlock the true potential of your walls as the canvas for your personal masterpiece.
Understanding Your Studio Space and Visual Flow
When it comes to displaying wall art in a studio apartment, the first step is to understand the unique characteristics of your space. Carefully analyze the layout, identify key wall areas, and examine how natural light and traffic patterns influence the visual flow of your home.
Measuring Wall Areas and Focal Points
Start by measuring the dimensions of your studio’s walls, taking note of any architectural features, windows, or furniture that could impact the placement of your Home Furnishings and Decorative Accents. Identify the primary focal points, such as the entryway, seating area, or bed, and consider how wall art can draw the eye to these important zones.
Natural Light Considerations
The natural light in your studio apartment can significantly influence the visibility and appearance of your wall art. Observe how the light moves throughout the day and which areas receive the most illumination. This information will help you select pieces that thrive in your unique lighting conditions and create a harmonious, well-lit display.
Traffic Pattern Analysis
- Observe the natural flow of movement through your studio apartment.
- Identify high-traffic areas and consider positioning your Home Furnishings and Decorative Accents to enhance the visual experience as you move through the space.
- Avoid placing art in locations that could be obstructed or overlooked by foot traffic.
By understanding the nuances of your studio space, you can create a visually cohesive and engaging wall art display that elevates the overall ambiance of your home.
Selecting the Perfect Wall Art for Small Spaces
When it comes to decorating a studio apartment, choosing the right wall art is crucial. The size, subject matter, and style of your artwork can make or break the overall visual flow and cohesion of your small space. As an expert in Home Accessories and Interior Design, I’ve compiled a few tips to help you select the perfect wall art for your studio apartment.
Consider the Scale of Your Space
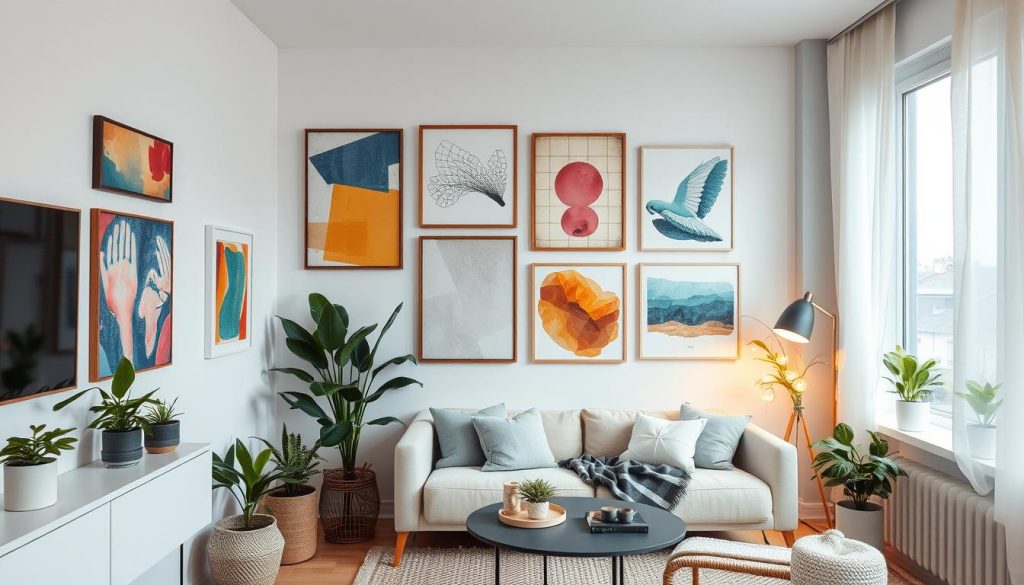
The first step in selecting wall art for a small studio is to measure your available wall space and choose pieces that fit the scale of the room. Oversized artwork can overwhelm a compact area, while tiny pieces may get lost in the visual clutter. Opt for medium-sized or carefully curated gallery wall arrangements to strike the right balance.
Choose Artwork with Thoughtful Subject Matter
The subject matter of your wall art can also greatly impact the atmosphere of your studio. Avoid busy, crowded scenes that can make the space feel enclosed. Instead, consider soothing landscapes, minimalist abstracts, or architectural sketches that create a sense of openness and tranquility.
Coordinate Styles and Mediums
Lastly, be mindful of the visual harmony between your wall art pieces. While mixing styles and mediums can add visual interest, ensure there is a cohesive aesthetic that ties the entire display together. Opt for a consistent color palette, framing style, or artistic genre to achieve a polished, intentional look.
By keeping these tips in mind, you can transform your studio apartment into a serene, visually striking space with the perfect wall art selections. Remember, the key is to choose pieces that complement your small space, rather than compete with it.
Essential Home Decor Principles for Studio Apartments
When it comes to Home Improvement and Home Styling in a studio apartment, understanding the essential design principles can make all the difference. From scale and proportion to color theory and visual balance, these fundamental concepts are key to creating a cohesive and visually appealing living space.
Scale and Proportion Guidelines
In a studio, it’s crucial to pay close attention to the scale and proportion of your furnishings and decor. Opt for appropriately sized pieces that don’t overwhelm the room, and strive for a harmonious balance between large and small elements. This will help to create the illusion of spaciousness and prevent the area from feeling cluttered.
Color Theory Basics
Color can have a profound impact on the overall ambiance of a studio apartment. Familiarize yourself with the basics of color theory to choose a palette that complements the size and layout of your space. Consider using lighter, airier hues to make the room feel more open and inviting, and be mindful of how different colors can influence the perceived size of the space.
Creating Visual Balance
Achieving visual balance is essential for a cohesive and visually pleasing studio apartment. Strategically arrange your wall art, furniture, and accessories to create a sense of equilibrium throughout the room. Experiment with symmetrical and asymmetrical layouts to find the perfect balance that suits your personal style and the unique characteristics of your studio.
By mastering these essential Home Improvement and Home Styling principles, you can transform your studio apartment into a harmonious and visually captivating living space that reflects your personal style and makes the most of your available square footage.
Creative Hanging Techniques and Hardware Solutions
When decorating a studio apartment, thoughtful wall art display is essential to creating a cohesive and visually appealing home. Beyond simply selecting the perfect pieces, leveraging innovative hanging techniques and hardware solutions can transform your Home Renovation and Home Decor efforts.
One space-saving option is to use floating shelves or ledges to showcase smaller art pieces and collectibles. These versatile displays not only free up valuable wall space but also allow for easy rearrangement, giving you the freedom to refresh your studio’s look regularly.
- Cable or wire hanging systems offer a clean, minimalist aesthetic while providing the flexibility to adjust artwork placement with ease.
- Magnetic picture hangers are a great choice for renters, as they eliminate the need for drilling into walls and can be easily removed without leaving unsightly holes.
- Custom-built wall niches or recessed shelving can transform otherwise unused corners into striking focal points for your favorite art pieces.
| Hanging Technique | Pros | Cons |
|---|---|---|
| Floating Shelves | Space-saving, versatile, easy to rearrange | Limited weight capacity, may require wall anchors |
| Cable/Wire Systems | Adjustable, clean look, suitable for various art sizes | Requires careful installation, may be labor-intensive |
| Magnetic Hangers | Renter-friendly, no wall damage, easy to move | May not support heavier artwork, limited weight capacity |
By exploring these creative hanging techniques and hardware solutions, you can elevate your Home Renovation and Home Decor efforts, transforming your studio apartment into a visually stunning and personalized living space.
Mixing Different Art Styles and Mediums
Curating an eclectic wall art display in your studio apartment can be a fun and creative challenge. By mixing various art styles and mediums, you can add depth, texture, and visual interest to your space. From combining photographs with paintings to integrating different frame types, the possibilities are endless.
Combining Photos with Paintings
Blending photographic prints and original paintings can create a unique and visually striking arrangement. The contrast between the realism of photography and the expressive brushstrokes of paintings can add depth and dimension to your wall art display. When selecting pieces to pair, consider how the styles, colors, and themes complement each other.
Integrating Different Frame Types
Mixing frame styles, materials, and finishes can also contribute to the eclectic charm of your wall art. Pair sleek, modern metal frames with ornate, vintage-inspired wooden frames, or juxtapose matte black frames with gilded gold ones. This interplay of textures and finishes adds visual interest and prevents your display from feeling too uniform.
Texture and Dimension Tips
- Incorporate three-dimensional Home Accessories such as sculptural wall hangings or bas-relief Decorative Accents to add depth and tactile appeal.
- Mix matte and glossy finishes to create contrast and visual interest.
- Experiment with mixed media art, where different materials and techniques are combined on a single piece.
By embracing a mix of art styles, mediums, and framing techniques, you can curate a dynamic and visually captivating wall art display that reflects your personal style and the unique character of your studio apartment.
Space-Saving Gallery Wall Arrangements
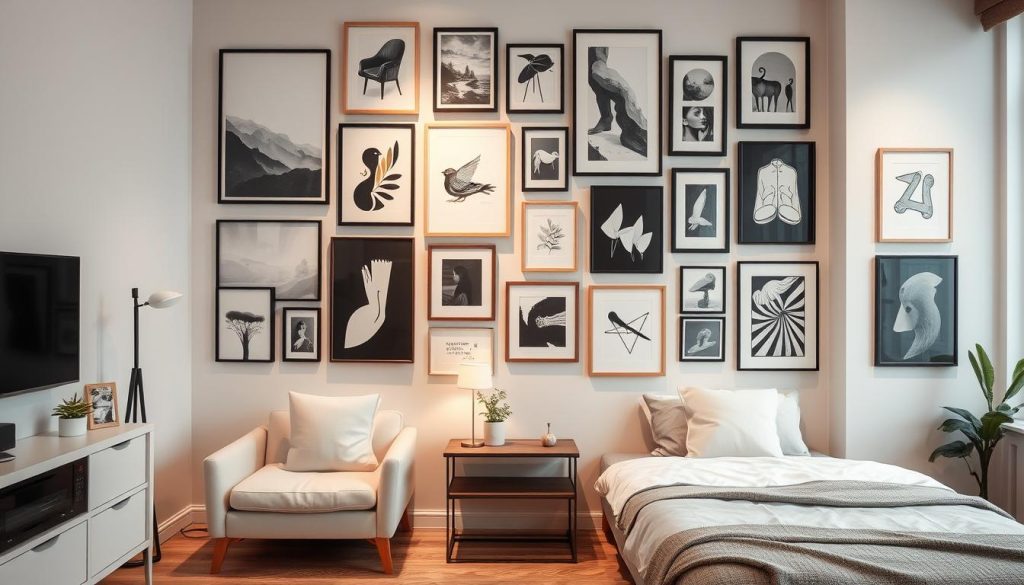
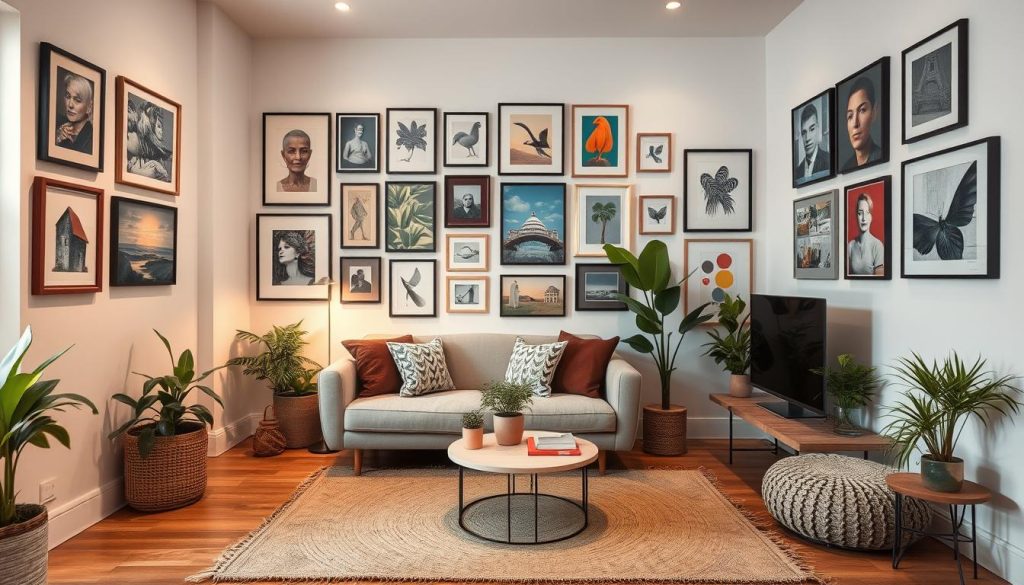
When working with limited space in a studio apartment, creating an eye-catching gallery wall can be a fantastic way to display your treasured artwork and photography. By mastering the art of space-saving gallery wall arrangements, you can transform your small space into a visually captivating haven that showcases your Home Staging and Interior Design skills.
One key strategy is to embrace the power of symmetry. Arrange your pieces in a structured, balanced layout, playing with the placement of frames and the spacing between them. This creates a cohesive, harmonious look that maximizes the visual impact within your available wall space.
Another space-saving tactic is to mix and match different art sizes and shapes. By incorporating a variety of frame dimensions, you can create a dynamic, visually interesting gallery wall that feels intentional and curated. Don’t be afraid to experiment with both vertical and horizontal orientations to find the perfect balance.
| Layout Tip | Benefit |
|---|---|
| Staggered Arrangement | Adds depth and visual interest to your gallery wall |
| Grid-like Placement | Creates a clean, organized display that maximizes wall space |
| Overlapping Frames | Allows you to fit more artwork in a smaller area |
By embracing these space-saving strategies, you can transform your studio apartment into a captivating showcase of your personal style and artistic sensibilities. With a little creativity and attention to detail, your gallery wall will become the focal point that elevates your Home Staging and Interior Design efforts.

Lighting Your Wall Art Effectively
When it comes to showcasing your wall art in a studio apartment, proper lighting is key. Thoughtful lighting can transform a simple art display into a visually captivating focal point that enhances the overall home decor.
Natural vs. Artificial Light
The interplay between natural and artificial light can make a significant difference in how your wall art is perceived. During the day, take advantage of natural sunlight to illuminate your pieces, strategically positioning them to catch the best light. However, as the sun sets, you’ll need to rely on artificial lighting solutions to maintain the visual impact.
Strategic Placement for Maximum Impact
- Position wall art near windows to take advantage of natural light during the day.
- Install adjustable track lighting or wall-mounted fixtures to direct light precisely onto your art pieces.
- Consider using dimmable lights to create a cozy, atmospheric ambiance in the evenings.
- Experiment with different lighting angles and intensities to highlight the unique textures and dimensions of your wall art.
By striking the right balance between natural and artificial lighting, you can ensure your Home Improvement and Home Decor wall art takes center stage, showcasing its beauty and enhancing the overall aesthetic of your studio apartment.
Protecting Your Art in a Small Space Environment
As a studio apartment dweller, preserving the beauty and integrity of your wall art is a crucial consideration. The unique challenges of a compact living space demand a thoughtful approach to safeguarding your cherished pieces. From humidity control to strategic lighting, let’s explore the essential tips for protecting your art in this cozy haven we call home.
Humidity and Temperature Management
Studio apartments can be susceptible to fluctuations in humidity and temperature, which can wreak havoc on delicate artworks. To combat this, consider investing in a dehumidifier or a small air conditioning unit to maintain a stable environment. Keeping your art away from windows and vents can also help mitigate the effects of rapid environmental changes.
Safeguarding Against Sunlight Exposure
The natural light that fills a studio apartment can be a blessing, but it can also pose a threat to your wall art. Prolonged exposure to direct sunlight can cause fading, discoloration, and even structural damage to your precious pieces. Strategically place your art in shaded areas or invest in UV-protective window film to filter out harmful rays.
Cleaning and Maintenance Techniques
- Gently dust your art with a soft, dry cloth to remove surface dirt and debris.
- Use a microfiber cloth to wipe down frames and avoid scratches.
- For more delicate artworks, consult a professional conservator for proper cleaning methods.
By incorporating these protective measures into your studio apartment, you can ensure that your wall art remains vibrant, pristine, and a true reflection of your personal style for years to come. Safeguarding your investments in Home Furnishings and Home Renovation is a worthwhile endeavor that will pay dividends in the long run.
| Humidity Control | Sunlight Exposure | Cleaning Techniques |
|---|---|---|
| Dehumidifier or AC unit | Strategically place art in shaded areas | Gently dust with soft, dry cloth |
| Keep art away from windows and vents | Use UV-protective window film | Wipe down frames with microfiber cloth |
| Consult a professional conservator for delicate artworks |

“Protecting your art is not just about preserving its physical form, but also honoring the creativity and passion that went into its creation.”
Rotating and Refreshing Your Wall Art Display
Keeping your studio apartment’s decor fresh and interesting is a breeze with strategic wall art rotation and updates. Embrace the power of Home Makeover and Home Styling to transform your space regularly.
Start by assessing your current art collection – which pieces evoke the strongest emotions or complement your evolving style? Rotate these timeless favorites while incorporating new finds that reinvigorate the visual narrative of your studio. Seasonal changes offer an excellent opportunity to swap out artwork, allowing you to celebrate the shifting moods throughout the year.
When introducing new wall art, consider how it can harmonize with your existing pieces. Experiment with different placements, frame types, and compositions to create visually striking arrangements. This approach not only breathes new life into your studio but also showcases your keen eye for Home Styling. Embrace the joy of constantly refreshing your walls – your space will feel rejuvenated and inspiring.
FAQ
How do I measure my studio apartment’s walls to determine the best wall art sizes?
Measure the available wall spaces in your studio apartment, taking into account the placement of windows, doors, and other architectural features. This will help you identify the optimal sizes and quantities of wall art that will fit harmoniously within your space.
What factors should I consider when selecting wall art for my studio apartment?
When choosing wall art for your studio apartment, consider the scale, style, and color palette that will complement your existing decor. Opt for pieces that are proportionate to the size of your walls and create a cohesive visual flow throughout the space.
How can I use color theory to enhance my wall art display in a studio apartment?
Applying basic color theory principles can help you create a visually harmonious wall art display in your studio apartment. Choose a color scheme that either complements or contrasts with your existing furnishings and accessories, and use hues strategically to draw the eye to your artwork.
What are some space-saving wall art hanging techniques I can use in my studio apartment?
Explore creative hanging solutions like floating shelves, wire grids, and picture ledges to display your wall art without taking up valuable floor space. Additionally, consider using command strips or other damage-free hardware to secure your artwork.
How can I incorporate different art styles and mediums in my studio apartment’s wall art display?
Mix and match various art styles, mediums, and frame types to add visual interest to your studio apartment’s walls. Juxtapose framed paintings with unframed photographs, or combine textured mixed-media pieces with sleek, minimalist prints for a dynamic, eclectic look.
What lighting considerations are important for my studio apartment’s wall art?
Optimal lighting is crucial for showcasing your wall art in a studio apartment. Utilize a combination of natural light and strategic placement of task lighting, such as wall sconces or track lighting, to highlight your artwork and create a warm, inviting ambiance.
How can I protect my wall art in the unique environment of a studio apartment?
To preserve your wall art in a studio apartment, consider factors like humidity, temperature, and sun exposure. Use UV-protective glass or film, employ dehumidifiers or air purifiers, and rotate your artwork periodically to prevent fading or damage.
How often should I refresh or rotate my studio apartment’s wall art display?
Regularly refreshing or rotating your wall art display in a studio apartment can help keep your space feeling fresh and visually engaging. Consider swapping out pieces seasonally or whenever you feel the need to revitalize your decor, incorporating new artwork or rearranging your existing collection.


